
How I make Sourdough Bread
Perhaps my most requested recipe…
Foreword
Like many people, I taught myself how to make sourdough bread during the spring of 2020 when the COVID Pandemic left me in the confines of my home, or really my kitchen. I started with youtube videos recommended by a fellow friend/baker, followed by blog posts and online recipes I found internet sleuthing. By far the most helpful resource I’ve come across is Bryan Ford’s New World Sourdough Cookbook. The classic sourdough recipe I use today is based off of his Pan Rustico recipe that I have made dozens and dozens of times. Even if you go on to make the recipe I have written here, I highly recommend investing in this cookbook as a resource for technique and inspiration for future sourdough recipes.
Before you start baking, read through this entire recipe to ensure you have all of the ingredients and equipment needed. This initial read-through will also help you to understand the timing and pacing of the recipe. I usually begin making my dough Monday morning and by Tuesday midday I have a couple of fresh loaves to get me through the week.
If you’ve never baked bread before, or even if you have, your first loaf is not going to be perfect so don’t expect it to do be. It takes time to get comfortable working with the dough, recognize the subtle differences between bakes, and understand all of the nuances that lead to these differences. This recipe is the (current) final product of constant tweaking to get the best result I can based on the environment I’m working in. You will make your own adjustments too as you learn what works best for you, playing with different types of flour and utilising different shaping techniques. And even if you end up with the flattest, saddest loaf you’ve ever seen… it will still taste delicious which is kind of the beauty of all of this. So without further ado…
What you need
For the Levain:
50 g mature sourdough starter (leave out sourdough starter the night before and use the next morning)
50 g bread flour
50 g whole wheat flour
100 g warm water
For the Dough:
600 g bread flour
100 g whole wheat flour
300 g AP flour
200 g levain
750 g warm water (divided)
20 g salt
Equipment:
Plastic Bench Scraper
Two bannetons (oval or round)
Lame or very sharp knife
Dutch Oven
What you do
You’ll need a sourdough starter for this recipe. If you have not purchased or received it gifted from a friend, I recommend King Arthur Flour’s recipe to make it from scratch.
The night before you plan to make your dough, take out your sourdough starter from the fridge and leave out overnight.
Make your Levain (~7 am)
The next morning, as soon as you wake up, make your levain. Your levain is essentially your fed sourdough starter that you will use almost entirely in your final dough mixture. To make your levain, mix together your mature starter along with the bread flour, whole wheat flour, and water mentioned above in the ‘for the levain’ section. Cover and leave in a warm place (I like to place on the stove with the stove light on) until it is bubbly and doubled in size, around 5-6 hours.
Make your Final Dough Mix (~12 pm)
An hour before your levain is ready to use (about 4-5 hours after mixing), mix bread flour, whole wheat flour, and AP flour (from the ‘for the dough’ section) with 730 g of warm water. You can add in all your water at once, but be patient as it will take some time for the flour to fully absorb the flour. Use your hands to ‘squeeze’ the water into the flour. The technique for getting the water fully absorbed is not too important as long as you are not tearing/ripping the dough as it is coming together. Really focus on squeezing and kneading to bring the dough together. You can use a bench scraper to scrape down the sides of the bowl from time to time. When no dry flour remains, cover and let rest for 1 hour. This step called the ‘autolyse’ and allows the gluten bonds to begin forming, resulting in a stronger smoother dough. You will see that after one hour, the dough will have become much stretchier and you will be able to gently pull on it without it tearing immediately.
After 1 hour, your levain should be ready to use. Add 200 g of your levain to your dough mixture and repeat the squeezing technique. It might feel odd to try to incorporate the wet levain into your drier dough mixture, but be patient and continue to knead until the levain is fully incorporated. This can take up to 10 mins and be sure that there are no pockets of loose/wet levain hidden in your dough before moving on. Once fully incorporated, cover and let rest for 30 mins.
After 30 mins, add in salt and remaining 20 g of warm water. Repeat squeezing and kneading until water and salt are fully incorporated. At first it may seem that this is too much water and your dough has become too wet. Stick with it and continue kneading as the water will eventually become absorbed and you will be left with a smooth dough. Cover and let rest for 30 mins.
Coil Folds (~2 pm)
After 30 mins, build strength in your dough by performing a series of coil folds. Here’s a great tutorial to understand the technique. Make sure to wet your hands before to prevent the dough from sticking to your hands. Perform your coil folds, then cover and let the dough rest for 45 mins. Repeat 2 more times for a total of 3 coil folds. In other words:
Perform 1st coil fold, cover and rest for 45 mins
Perform 2nd coil fold, cover and rest for 45 mins
Perform 3rd coil fold, cover and rest for 4 hours
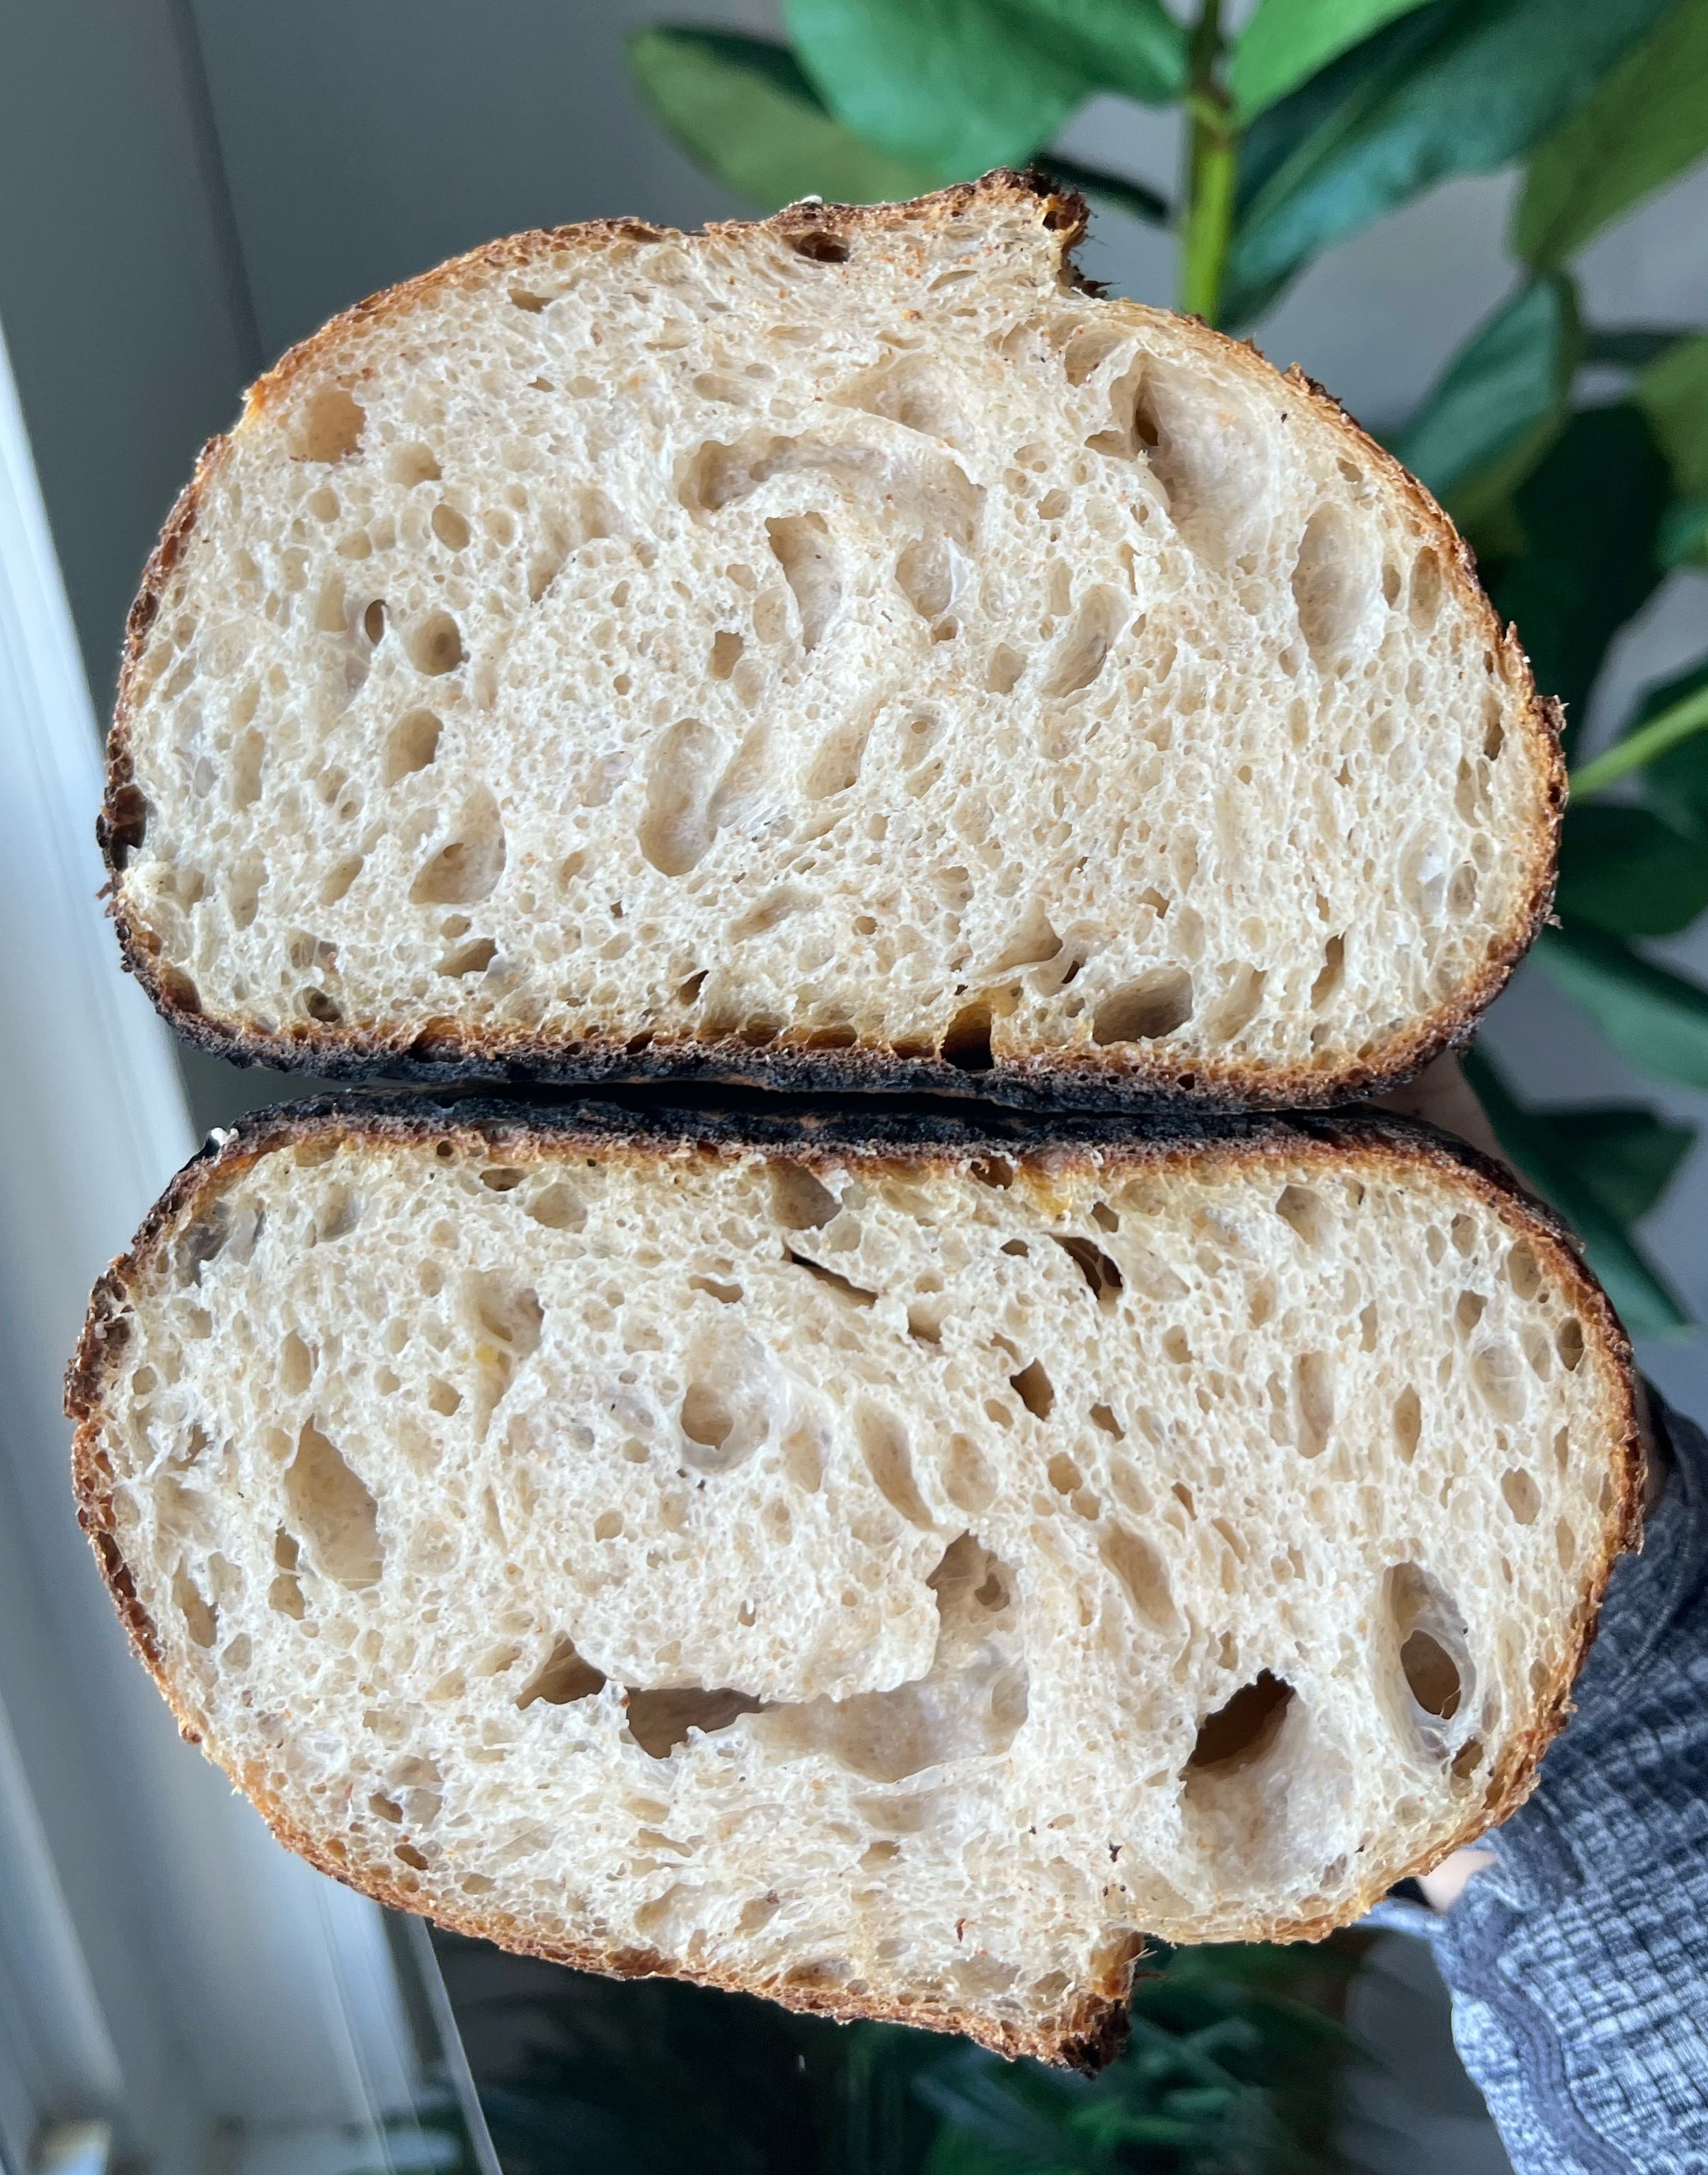
This period of time is known as the ‘bulk fermentation’ and helps your dough to build strength so it can properly rise in the oven and develop a lovely open crumb structure.
Pre-Shaping (~8 pm)
After your 4 hour rest your final coil fold, dump your dough out onto a clean work surface. I do not use any flour in this step, but if you find it difficult to work with the dough, place a light dusting of flour on your counter before dumping out your dough. This recipe makes two loaves, so divide the dough evenly in half.
Gather the first half of the dough and gently pat out to flatten slightly. Fold each corner into the middle to form a ball, then flip the dough. Use the palms of your hands to cup the sides of the dough with the pinky side of your hand against the counter. Pull the dough towards you, maintaining some tension against the counter, to round the dough. Check out this video if my written description is not making sense. Perform this motion about a dozen times until an even ball has formed. Repeat on the second half and leave both loaves to rest, covered with a clean dish towel, on the counter for 30 mins. They will flatten out slightly which is okay.
Final- Shaping (~8:30 pm)
After 30 mins, lightly dust the tops of both loaves with flour. Prepare your bannetons (you can also use medium sized bowls) by generously dusting both with rice flour (about 2-3 tbsp per benetton. You can also use AP flour but I find rice flour helps prevent sticking better). Gently lift your first loaf and flip, placing the floured side down in front of you. Lightly pat your dough to flatten slightly, then pull the right side out and fold it onto itself, repeating the same on the left. The motion is similar to folding a piece of paper in thirds. Starting from the top, roll the dough towards you similar to the motion of rolling up a cinnamon roll. See the video below for a visual tutorial. Carefully lift your rolled up dough and place in your prepared banneton seam side up. Repeat on the other loaf. Dust the top with flour then cover and place in the fridge over night. I like to reuse large plastic proofing bags to keep the dough in overnight.
The next day
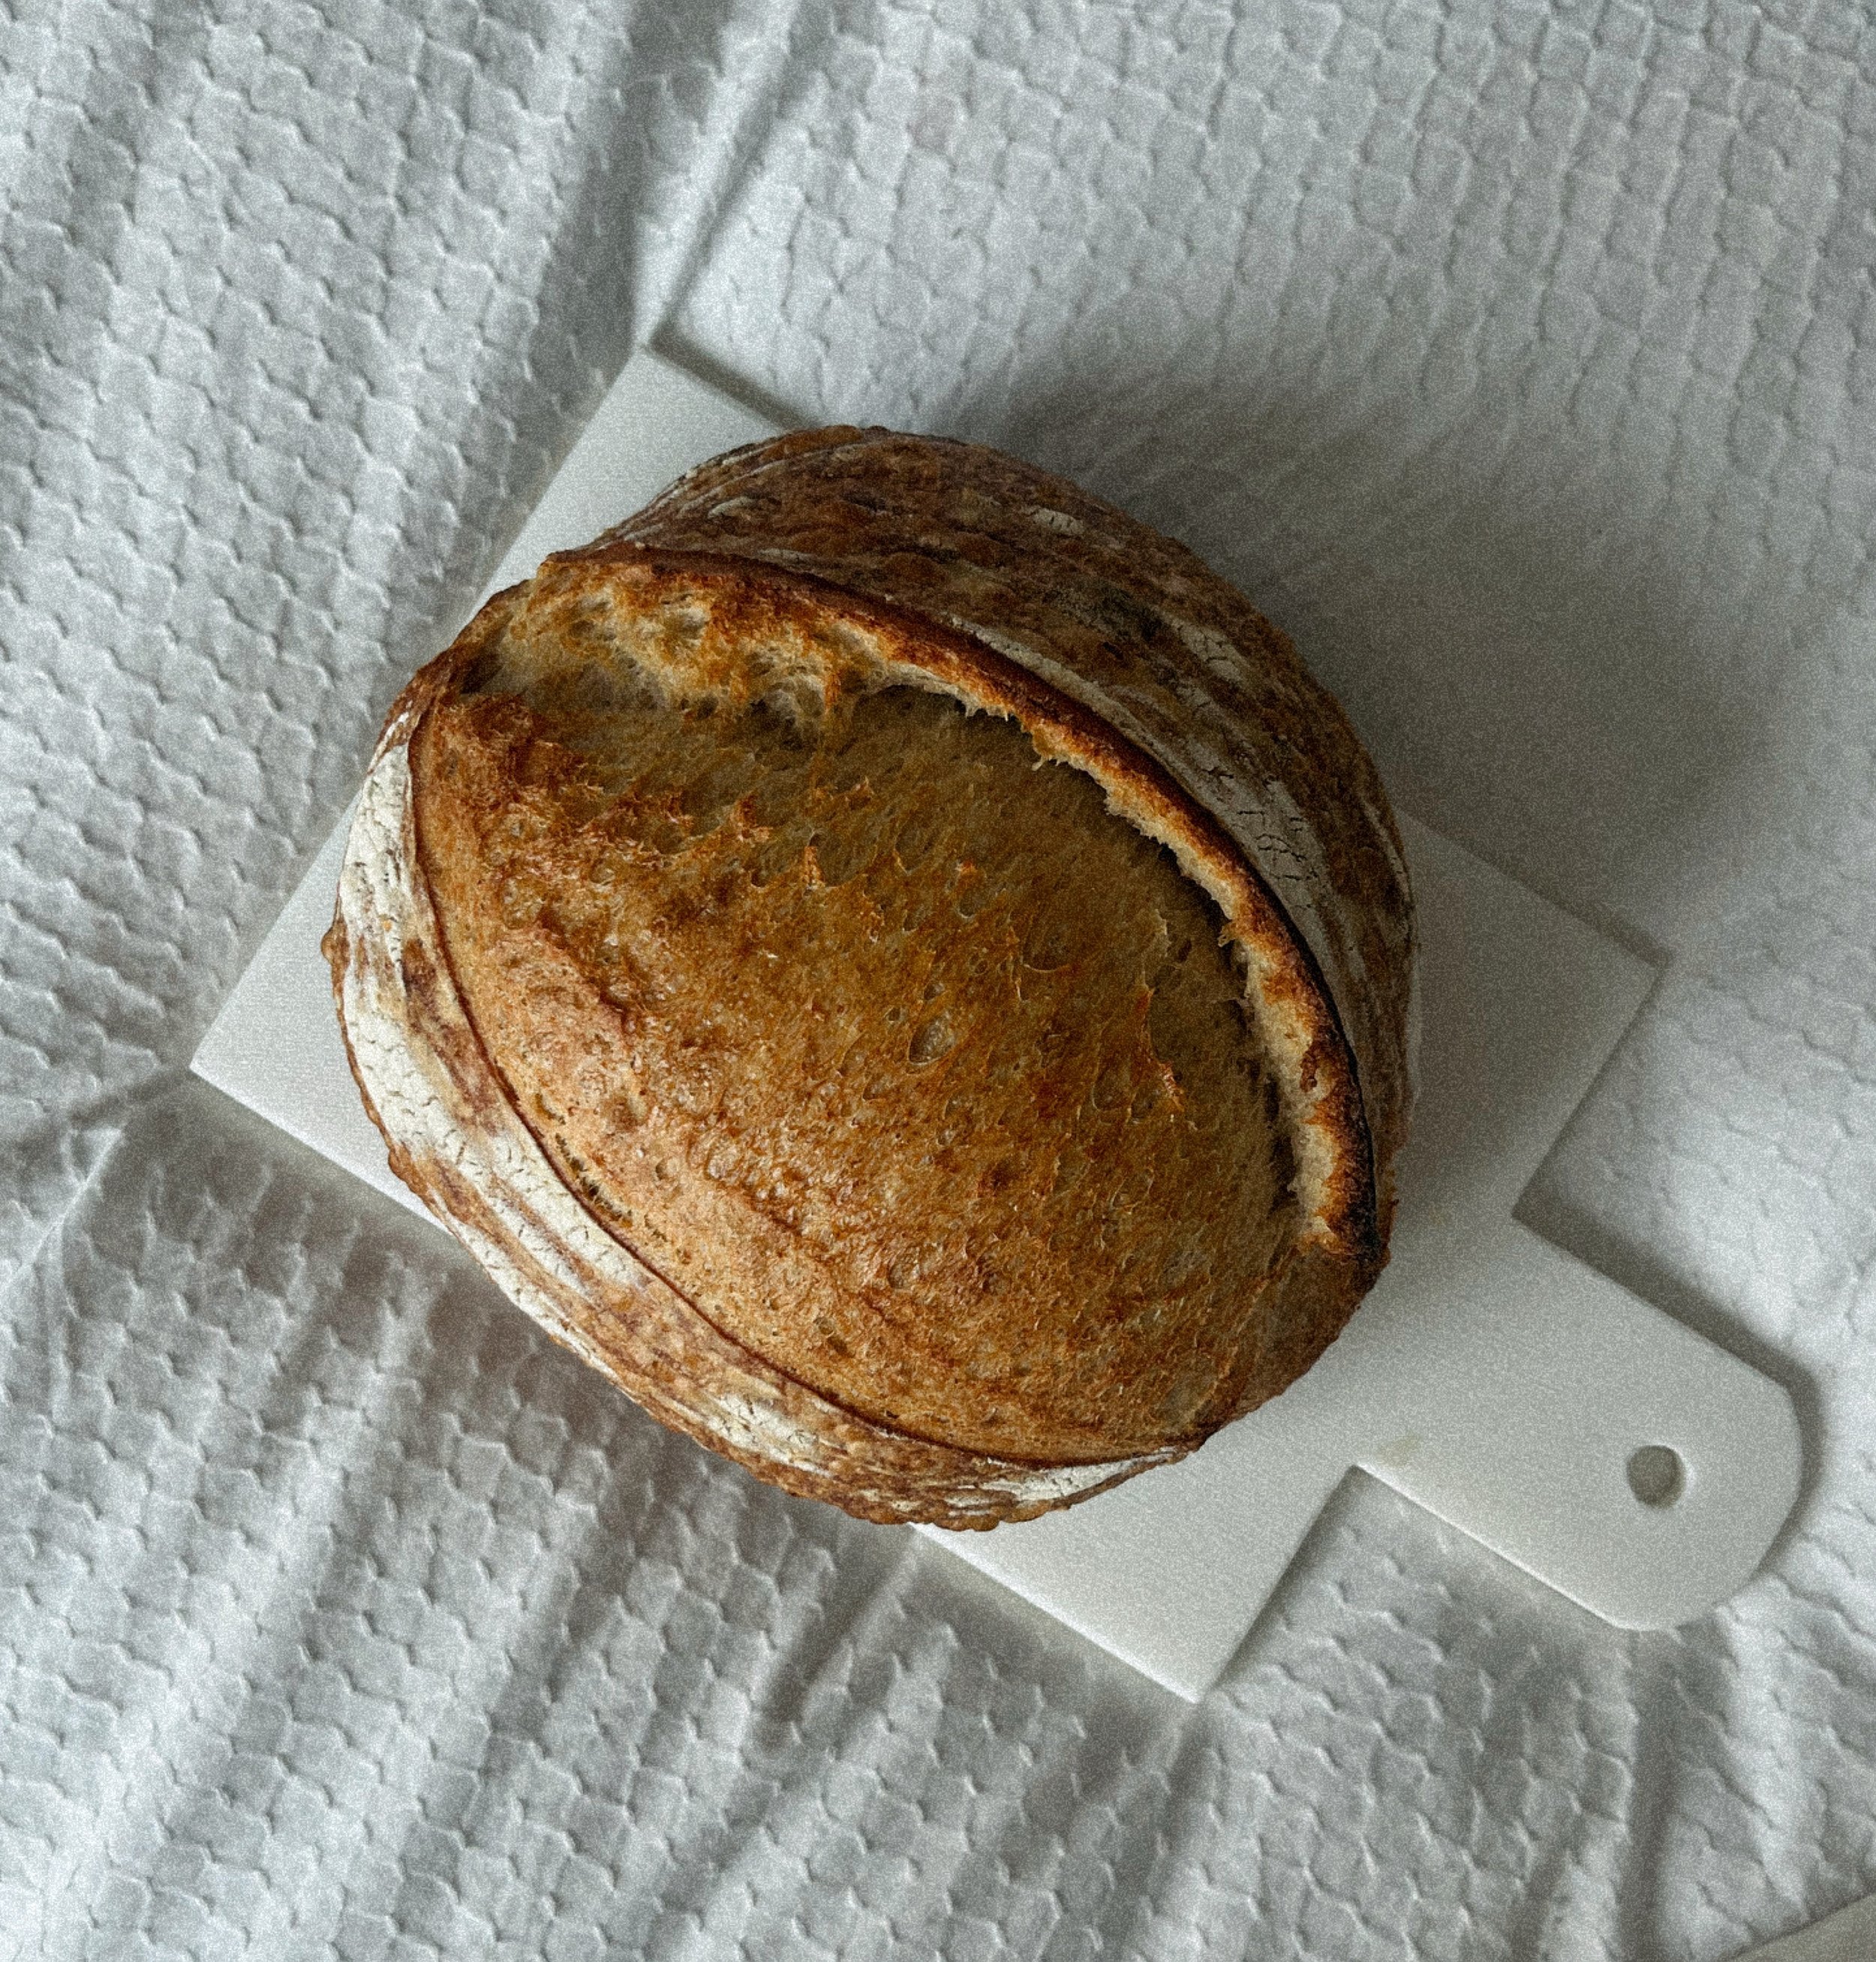
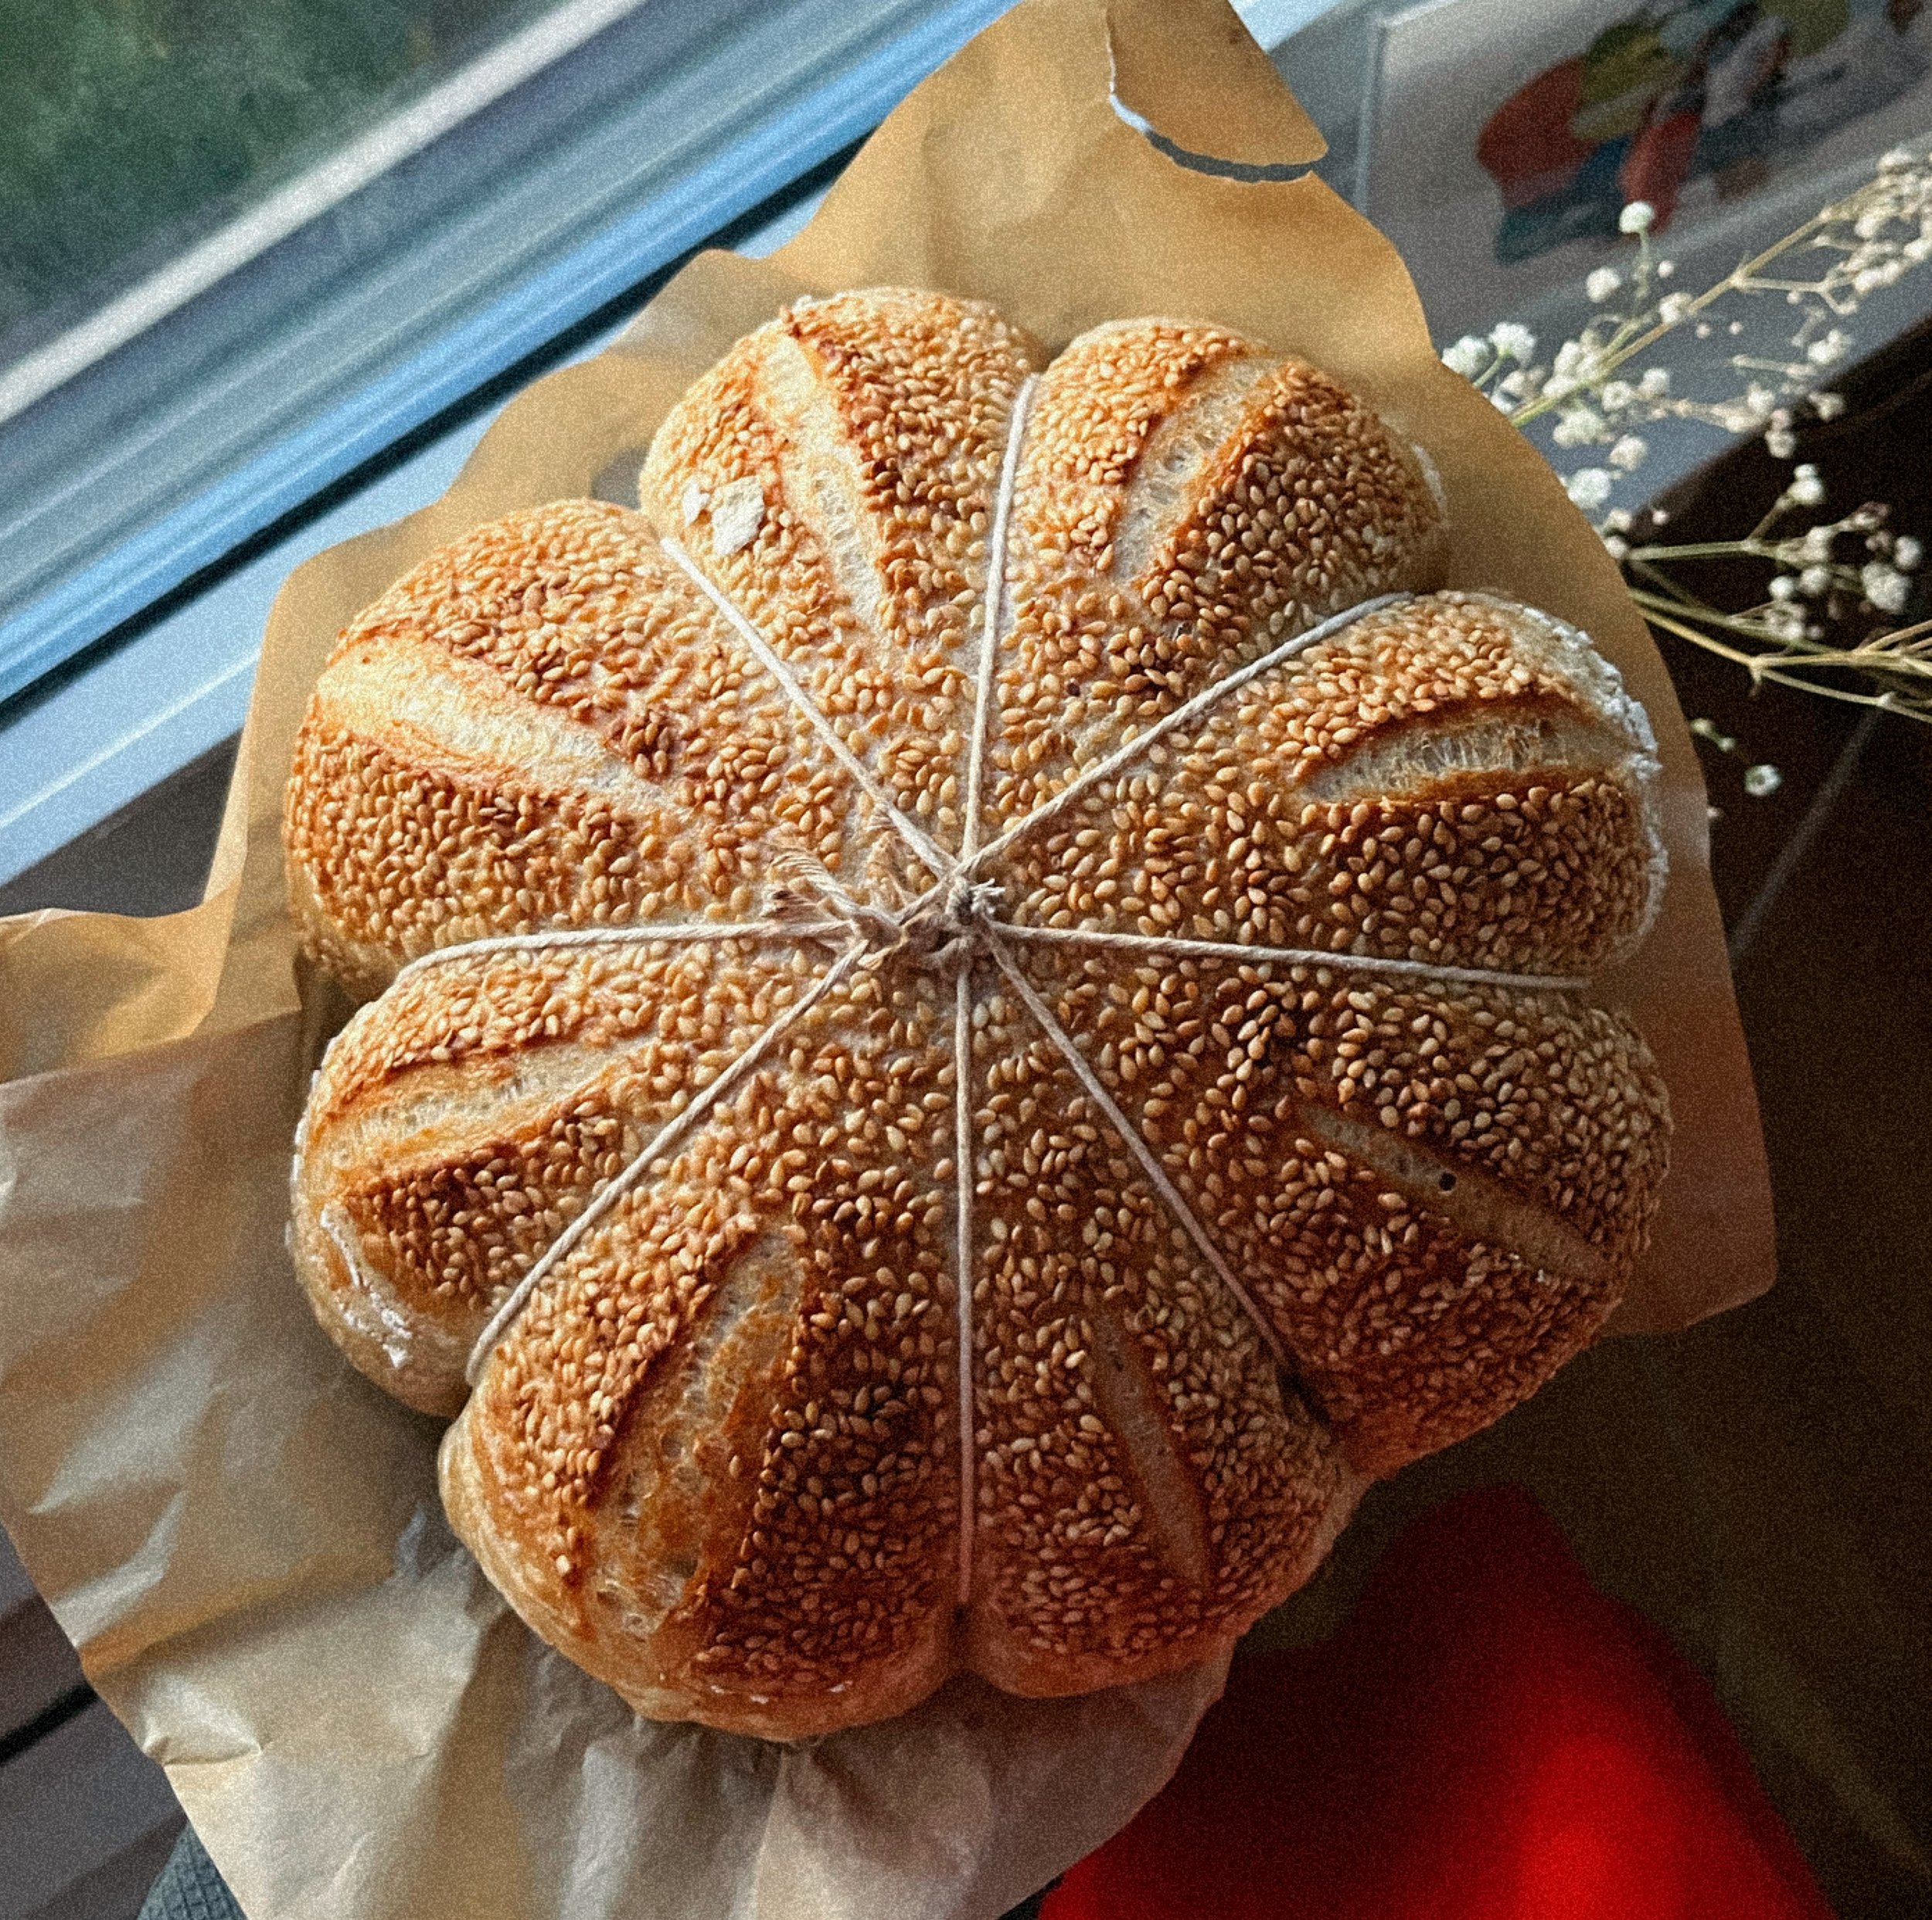
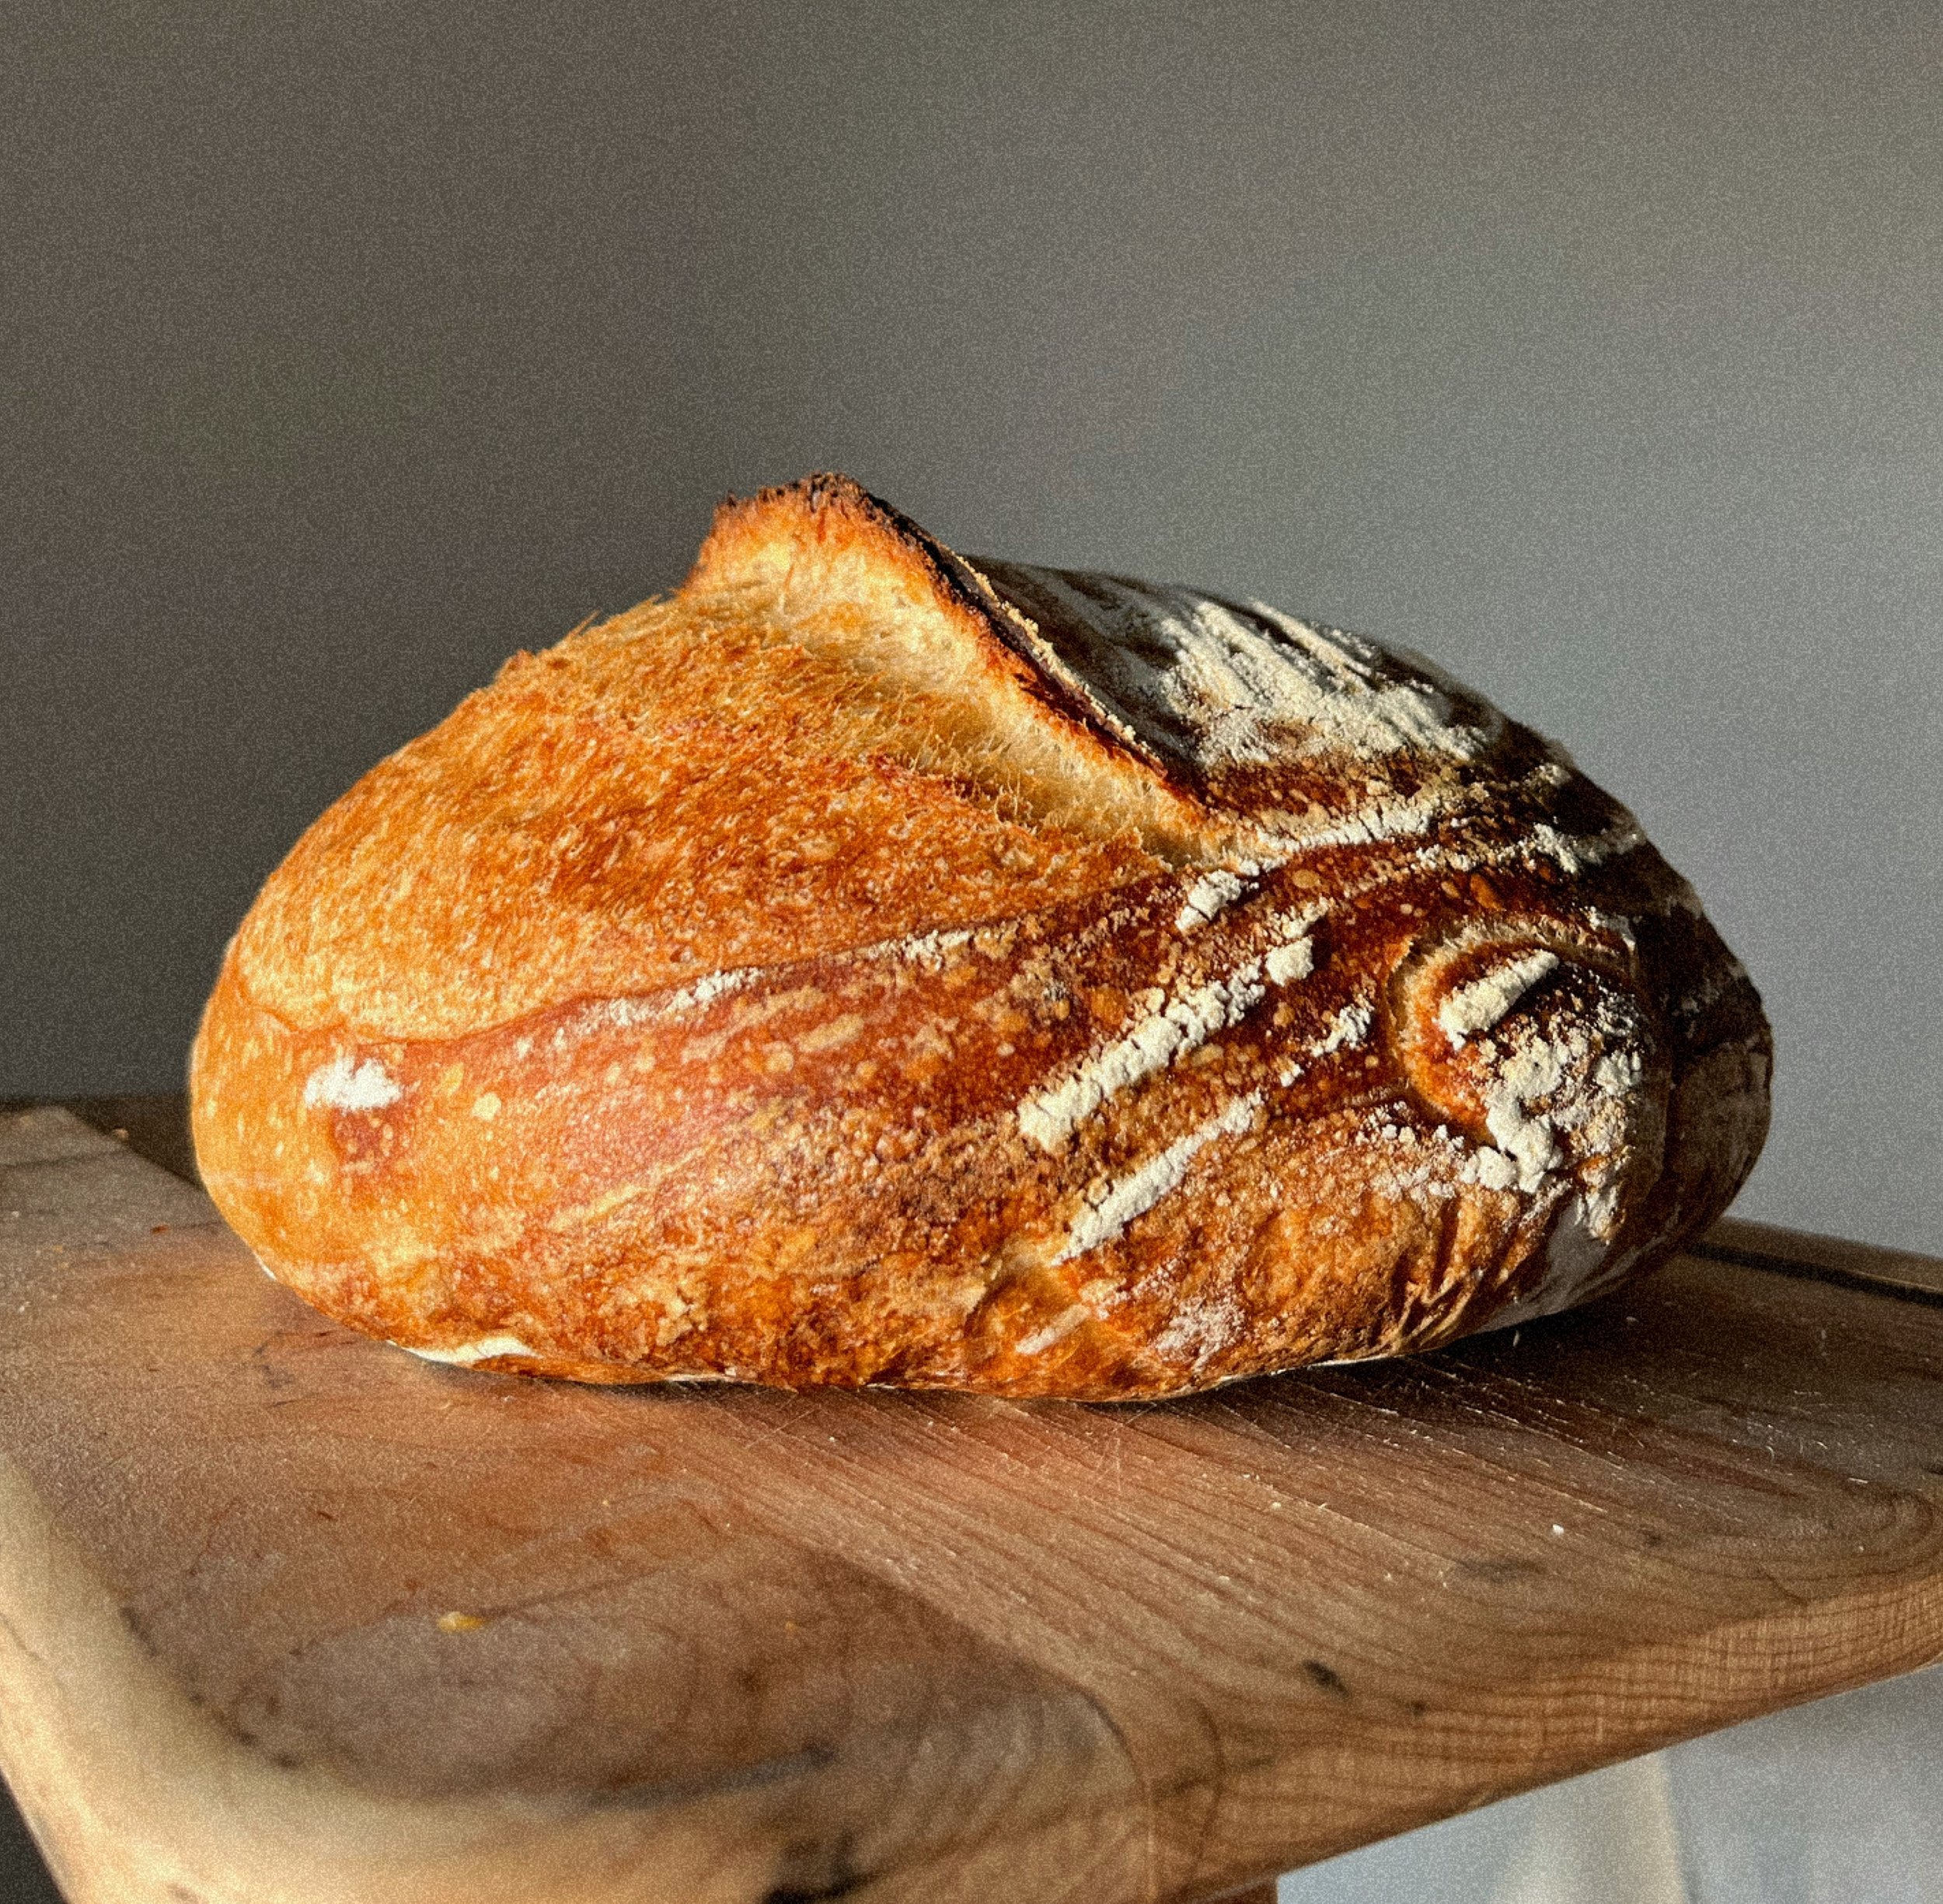
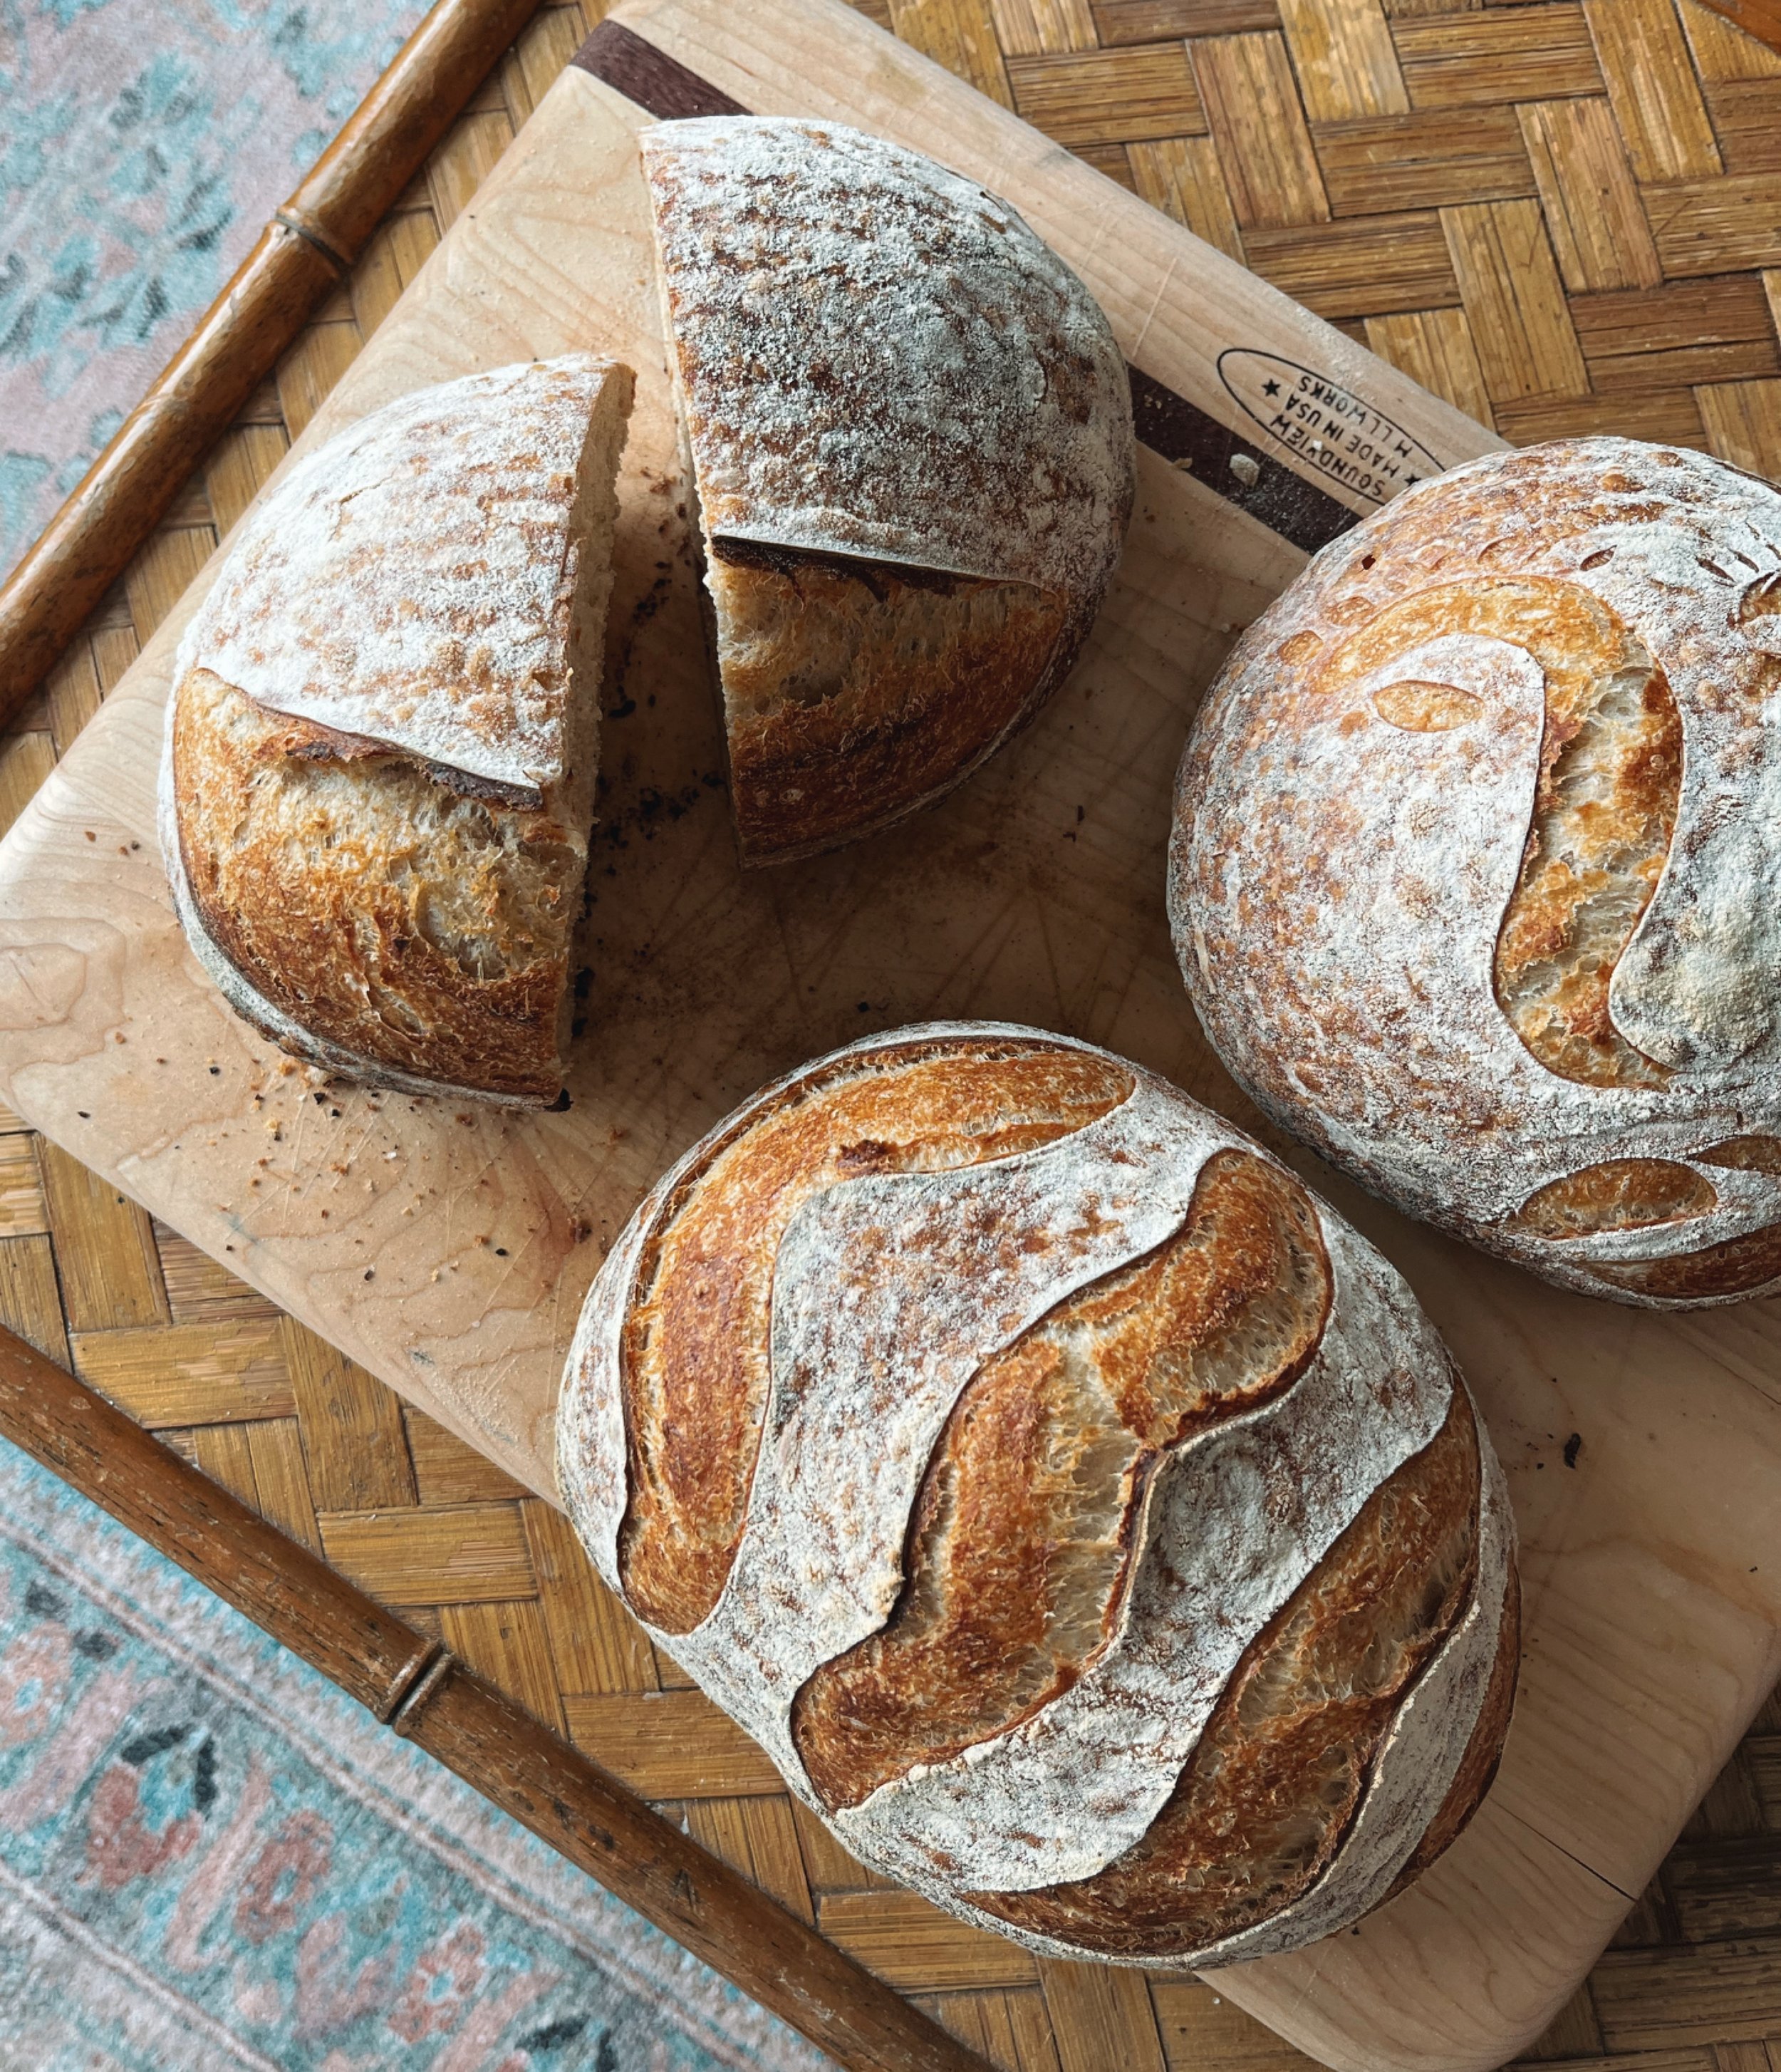
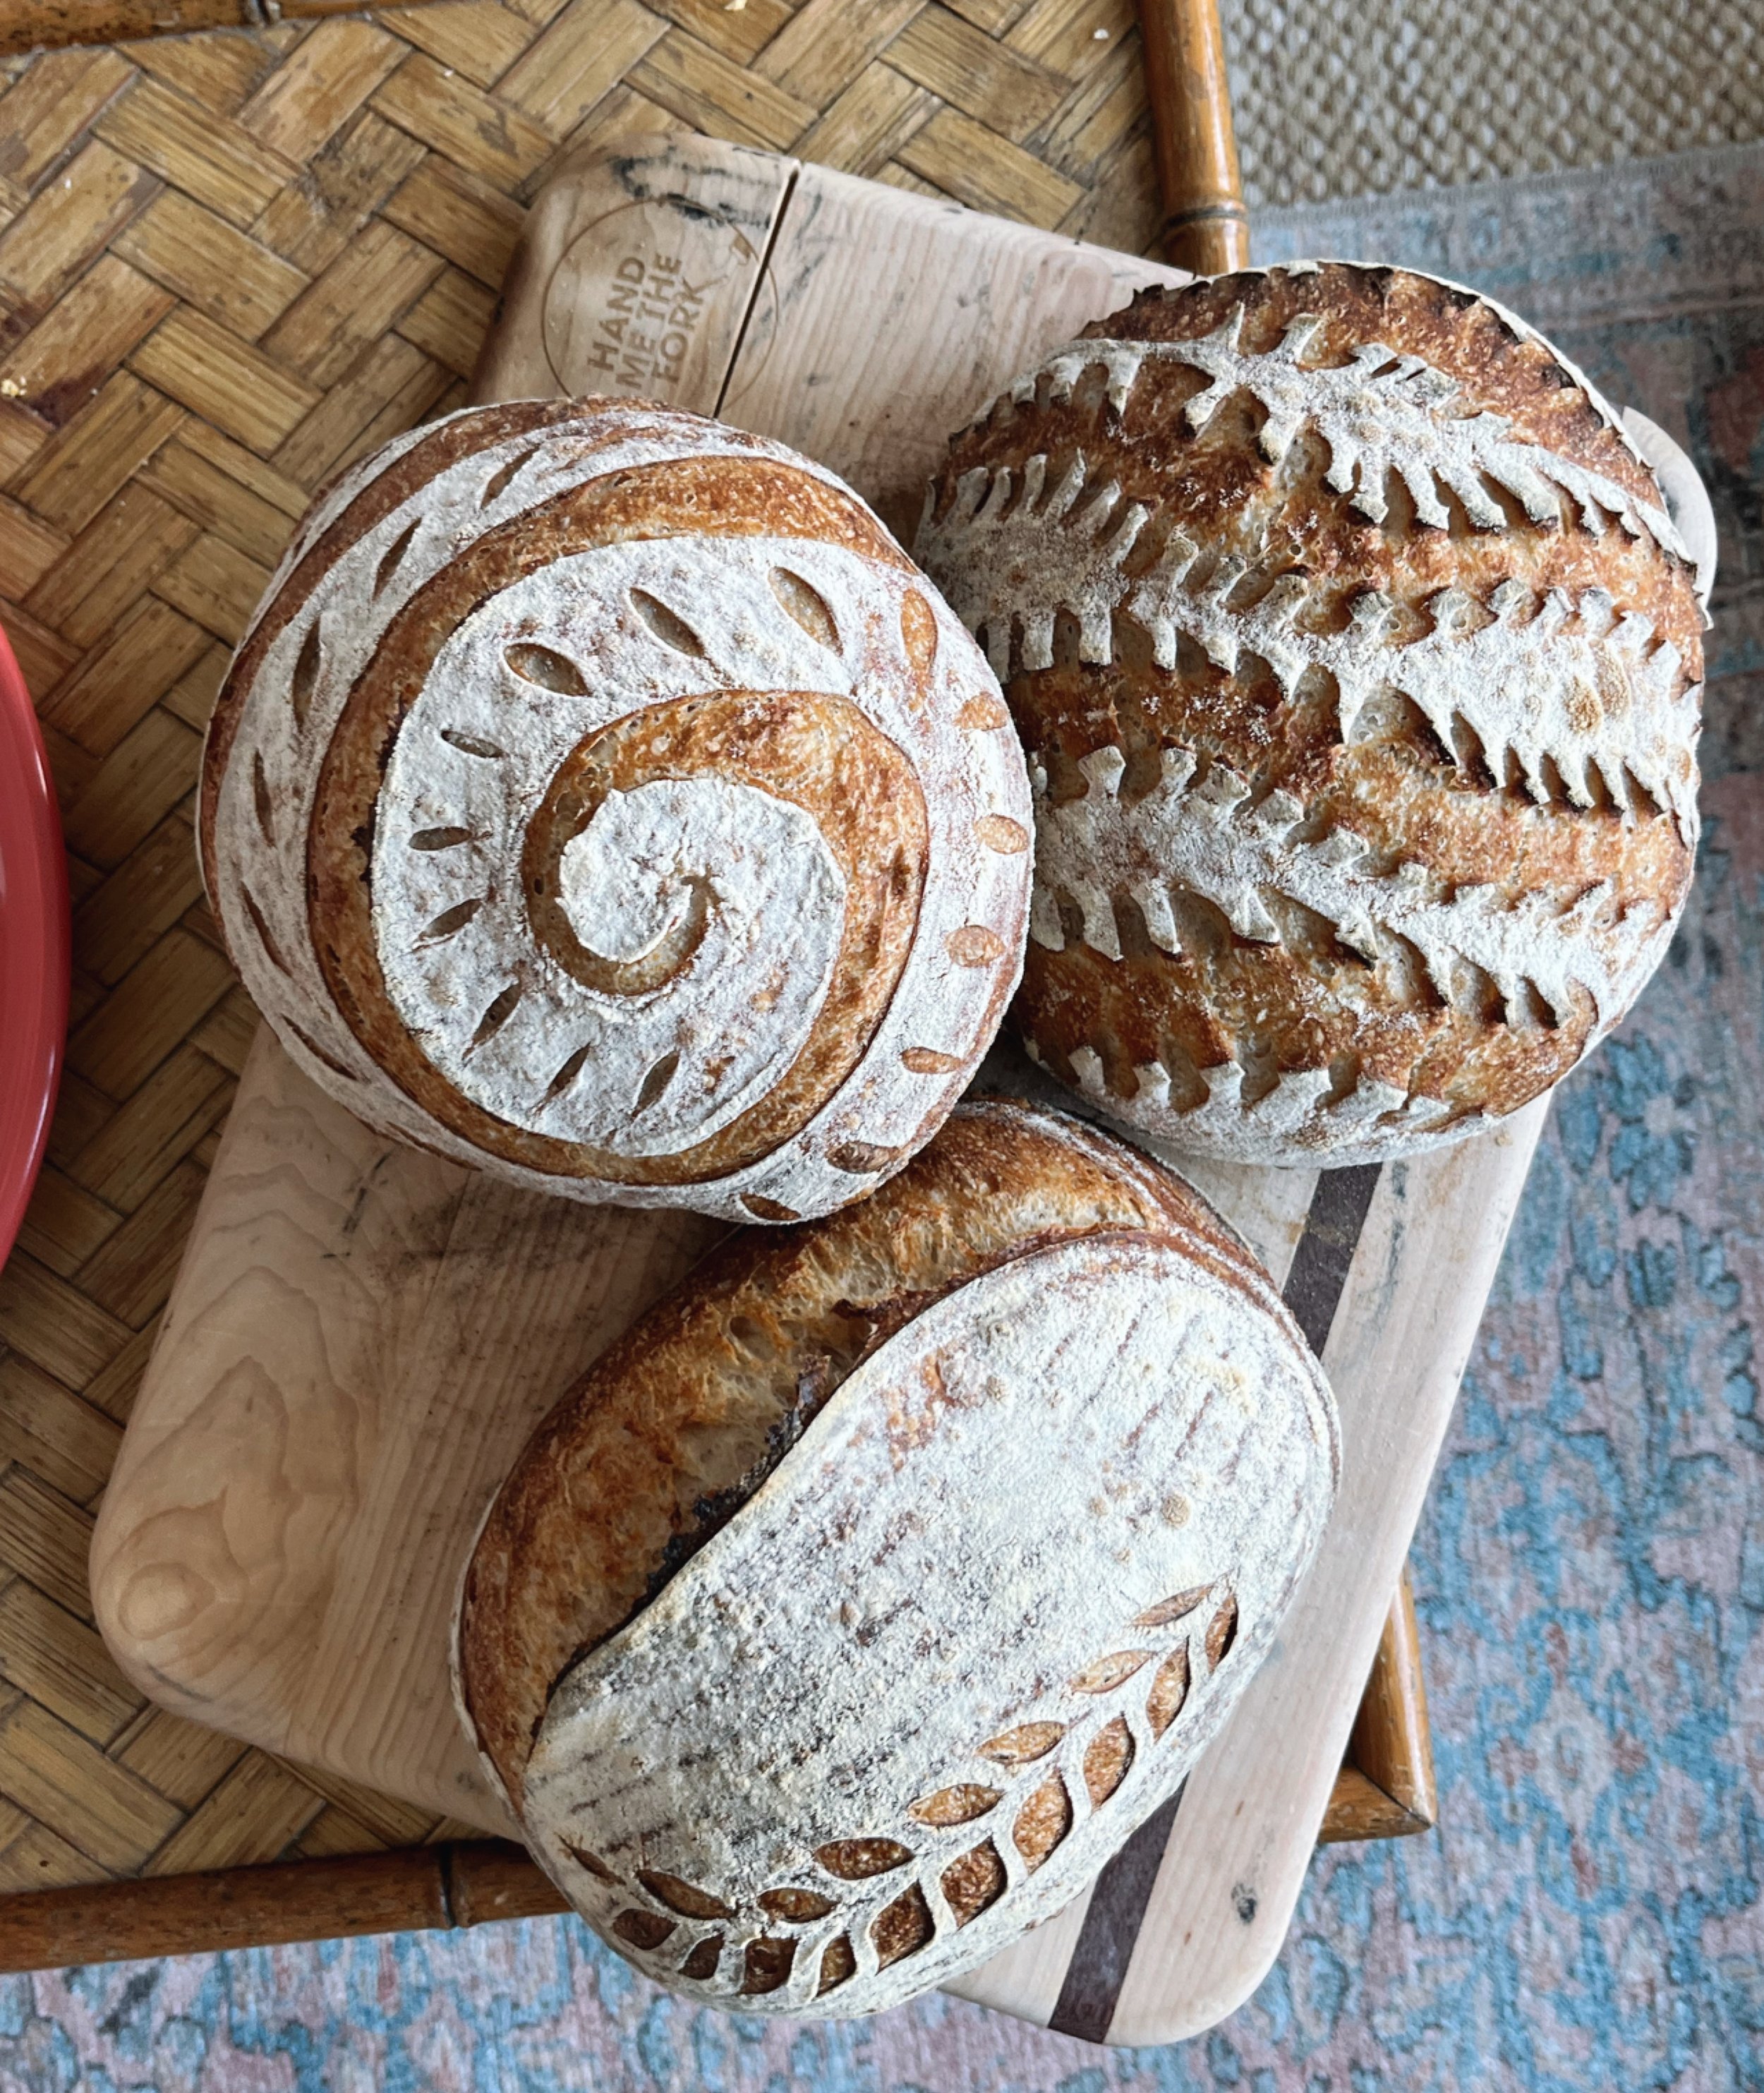
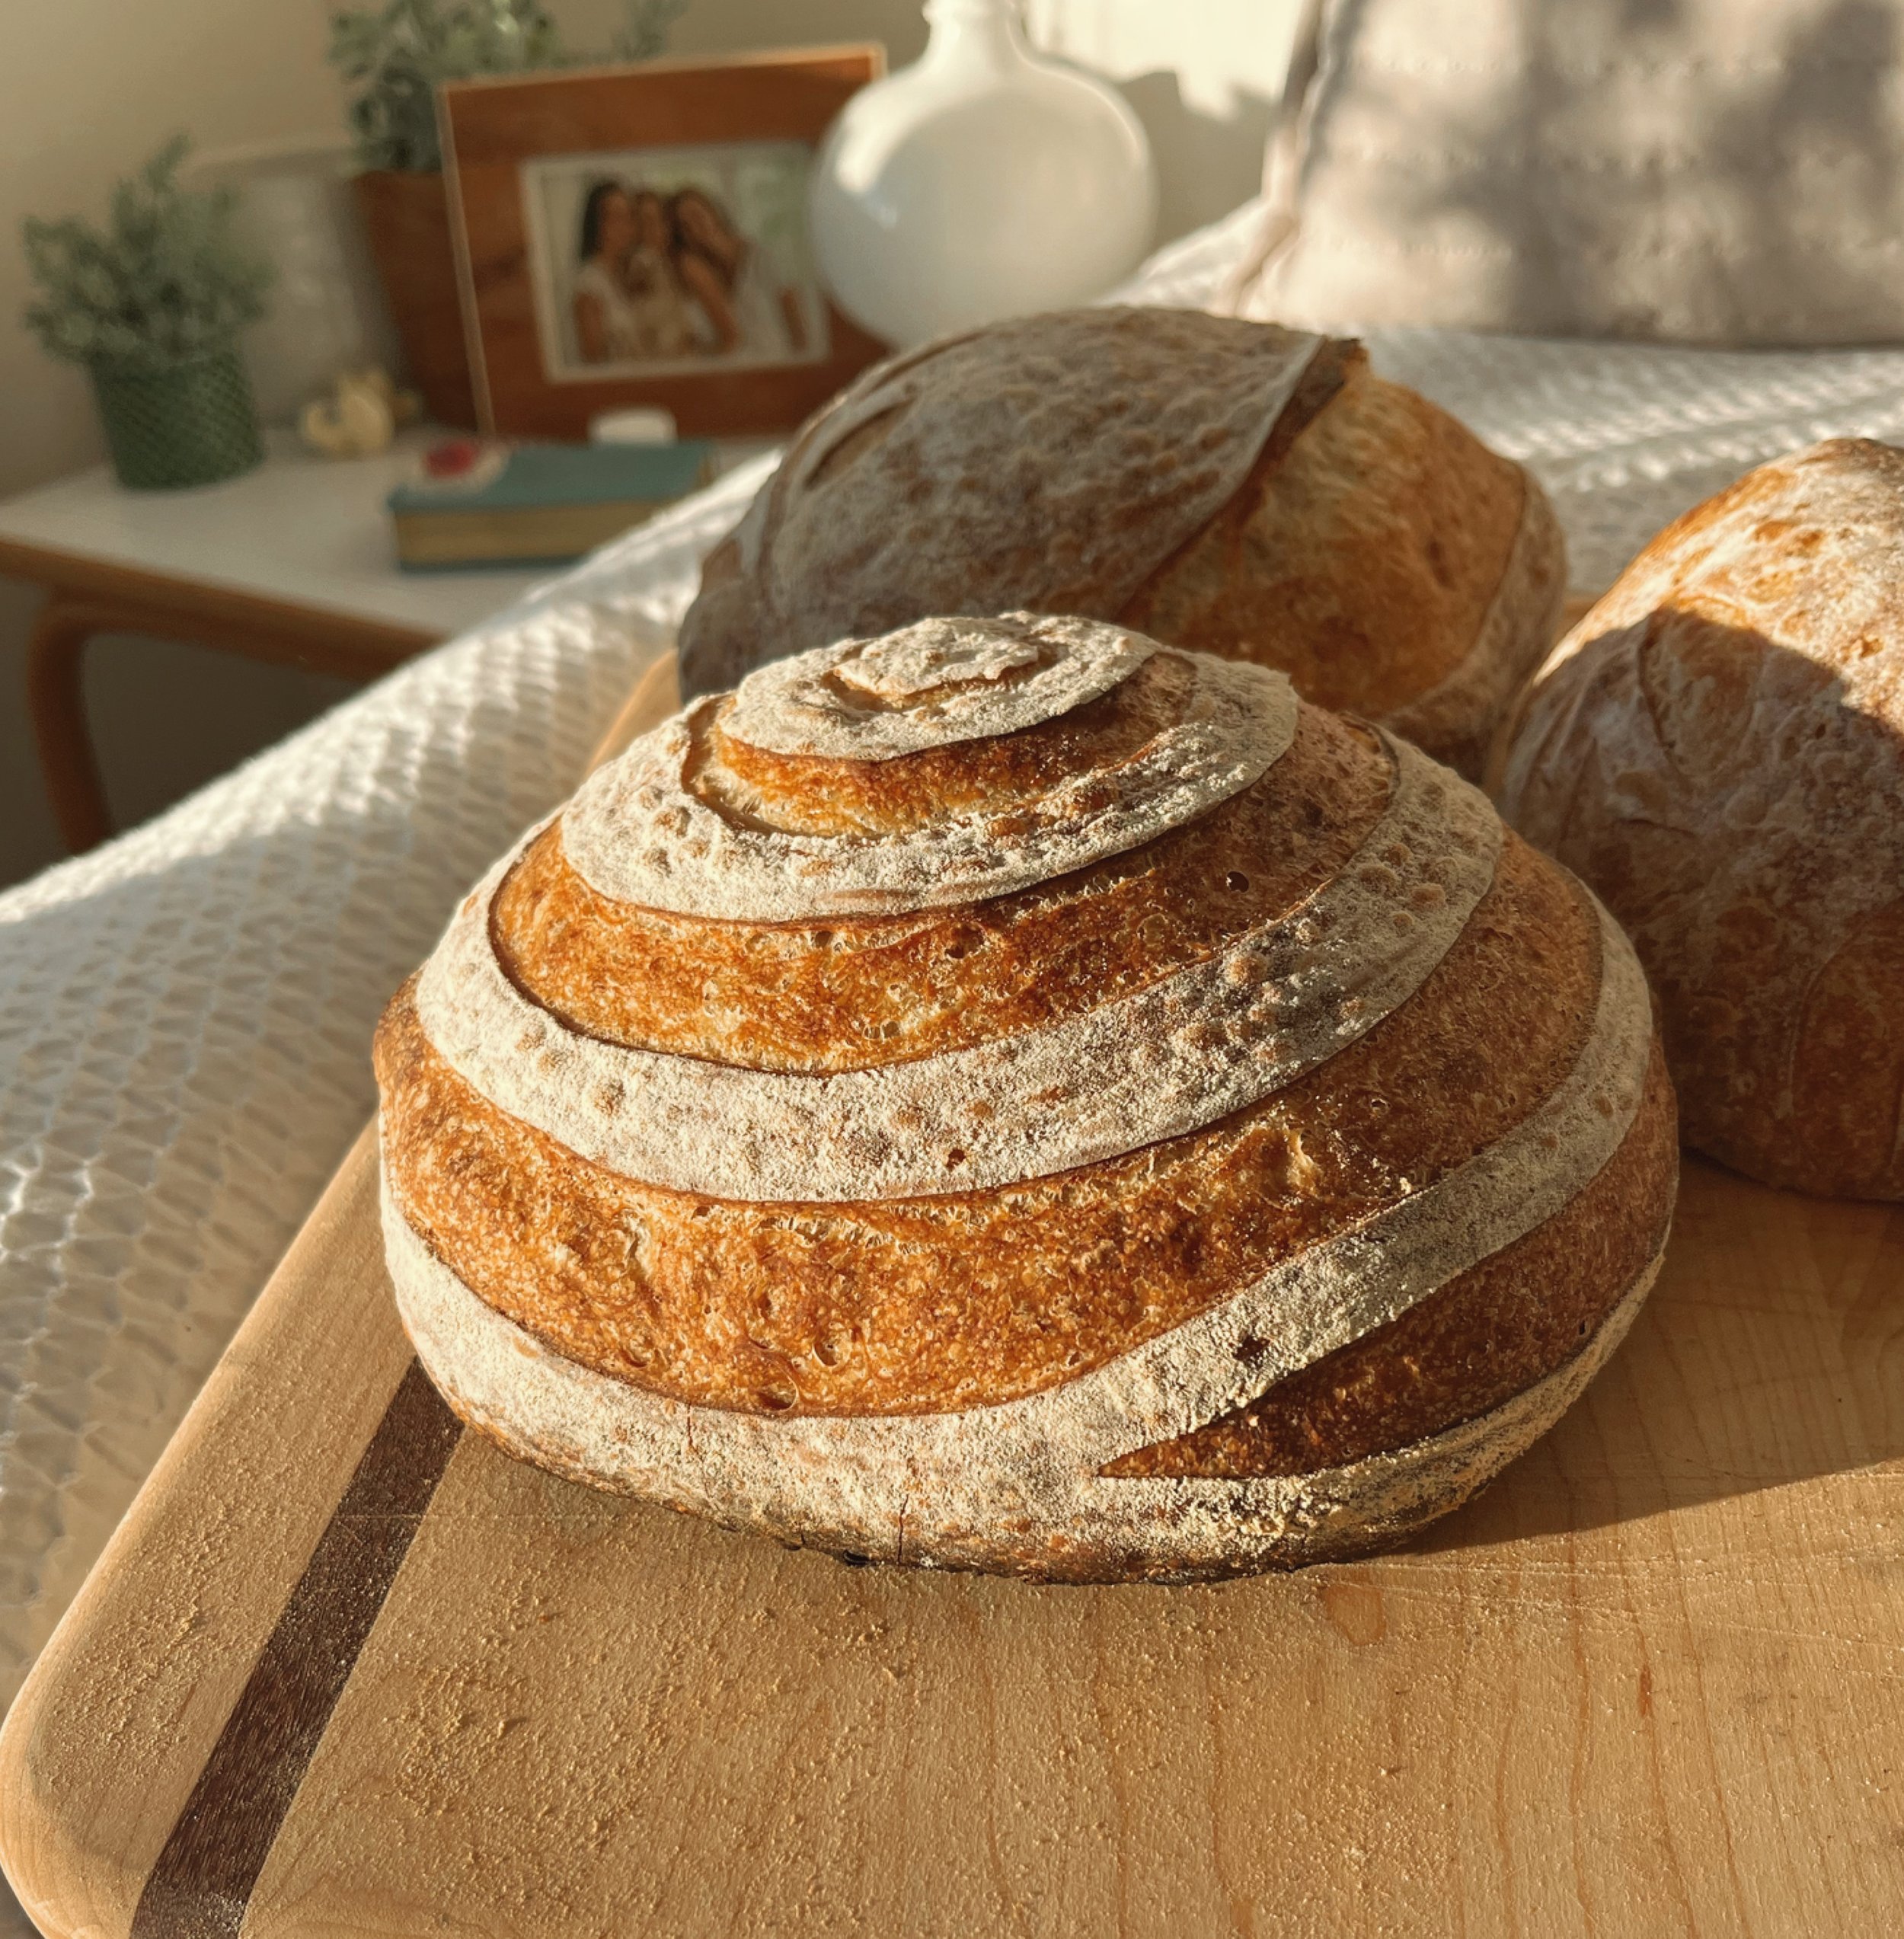
When you are ready to bake (the following morning or afternoon) preheat your oven to 500 degrees Fahrenheit with your dutch oven inside. When your oven is preheated, remove dough from fridge and flip out of your banneton onto a square of parchment paper that can be easily transferred into your dutch oven (I like to cut mine to size). The seam side of the dough will now be facing down against the parchment paper and the rounded side with be up. Dust the top of your dough with flour and rub around to evenly coat. Score your dough using a lame or a very sharp knife. You can get creative with fancy designs or just cut a straight line down the middle. Remove the dutch oven from your oven and then carefully transfer your dough into the dutch oven by lifting the parchment paper. Carefully tuck two ice cubes under the parchment paper to create steam, then quickly return the lid to your dutch oven and place in the oven. Cook covered for 20 mins, then remove the lid and cook for another 5-7 mins until golden brown (you can go lighter or darker depending on the appearance you are looking for). Remove from oven and allow to cool before slicing. Repeat with your second loaf.
The very best bite of bread is fresh out of the oven, smeared with butter, and sprinkled with flaky malden salt :)
Storage
Store in plastic wrap or a plastic bag on the counter for up to 2 days. These loaves freeze beautifully. I usually eat one over the course of a few days, leaving it on my counter, and freeze the second loaf. To freeze whole, wrap your loaf fully in aluminium foil and place in your freezer. When ready to defrost, preheat oven to 300 and place loaf (keeping aluminium foil on) in oven for 1 hour. To freeze in slices, slice up your loaf and place in a plastic bag to keep in your freezer. It is best to slice and freeze on the day of baking for ultimate freshness. When you want to eat a slice, pop one in the toaster and toast until defrosted.
